First Protocol
Let's create a first protocol together!
Basic design
| Step | Representation |
|---|---|
| Start MindDev and in the default open protocol, go to the experiment list | 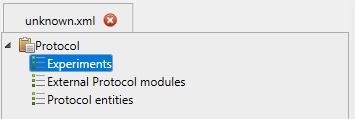 |
| Right click on the mouse to empty the list of experiments already present. If you use a new protocol, it is empty by default. The one that is opened at launch has a generic experimentation | 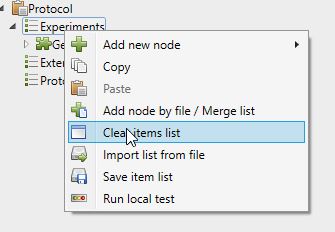 |
| Right-click to add a Human Virtual Maze/HVM Morris Water Experiment | 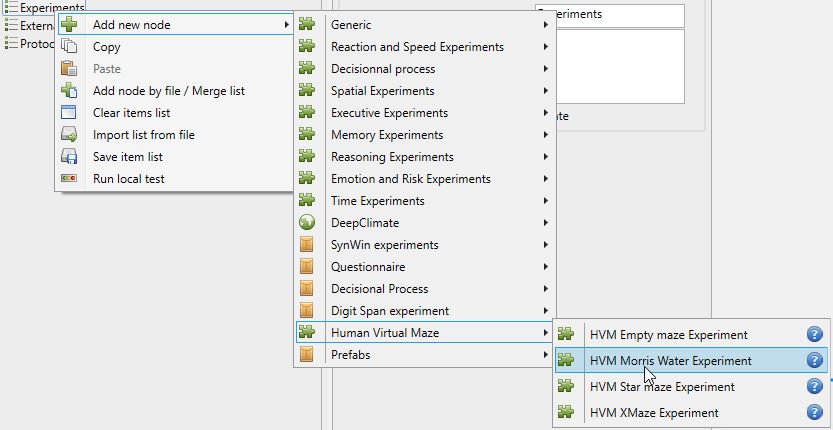 |
| Select the Morris Water Maze node to update the viewer | 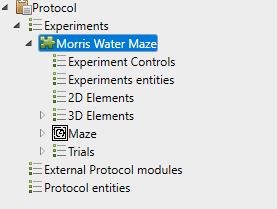 |
Vertical Toolbar
It is quite possible to use the tools on the vertical toolbar to perform these first steps.
Resource Explorer
The Morris Pool experiment is also available from the resource explorer.
New Protocol
The default protocol open at MindDev launch is a conventional protocol. If you really want to start from 0, use a standard protocol from the "File/New/Protocol" menu
Morris Pool
Morris Pool is an experimental animal protocol that involves searching for a normally invisible target in a circular pool environment. In MindDev, all of the parameters are adjustable.
Built-in Test
By default, the Morris pool has a built-in trial by default. Thus, upon adding a Pool experiment, the protocol structure becomes sufficient for a run.
Testing the Protocol
You have completed the initial design of the protocol, you can test it by clicking on the test button. On the first click, you are asked to save the protocol, name it firstProtocol.xml and save it in the Protocols folder in the data folder.

Exit Protocol
To end the current protocol, simply join the target in front of you or press the escape key on the keyboard.
Change target position
The protocol tree reflects the logic of the protocol execution. In the Morris Pool experiment, the targets to be searched for are components of the trials (so that each trial can have these target positions independently of the other trials). So to change a target position, we need to fetch the target entity from the protocol tree.
| Step | Representation |
|---|---|
| Select the trial included in the list of trials in the experiment. At this point, the 3D view changes and represents the state of the environment in the context of the trial. The target becomes visible in the 3D view. | 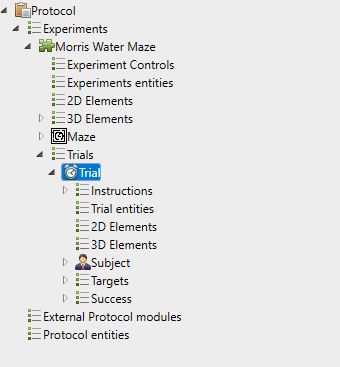 |
Select the "Targets" list to access the target named Custom Geometry Target. |
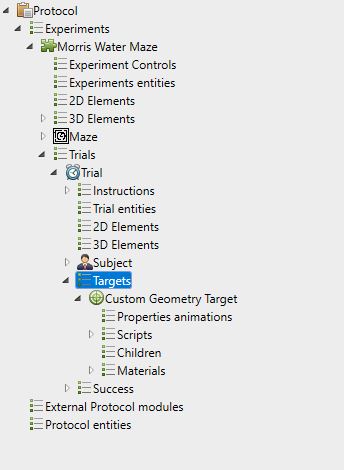 |
| Select the target in the protocol tree to access the properties of the target object. | 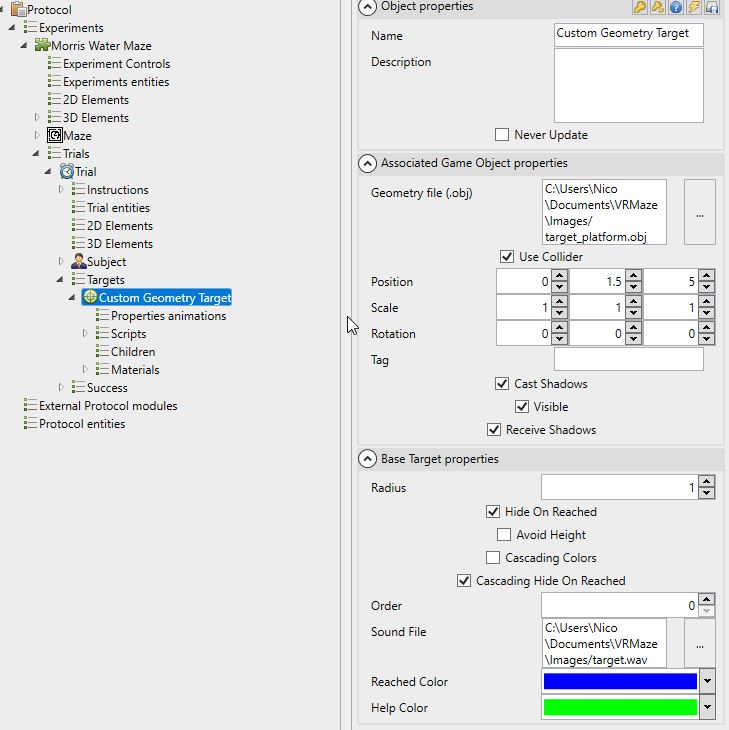 |
| Change the X position of the target to 3. | 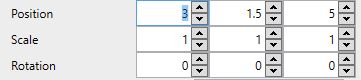 |
Protocol test
You can test the protocol to see the change in the target position. MindDev does not ask you for a new file name.
Using the 3D view
It is quite possible to use the 3D view to change the position of the target, however, it is complicated to fall to a precise value.
Knowledge of the structure of an experiment
The structures of experiments are different from each other. An understanding of the structure of an experiment is useful to be able to configure it to the maximum.
Add an instruction
An instruction is a special entity that displays content for a certain time before or after a trial. We will add an instruction that displays a success message.
| Step | Representation |
|---|---|
| Select the "Instructions" list to access the instructions for the trial. As you can see, the trial already has two instructions, one displayed before the trial starts, the other at the end of the trial. |  |
| Add a new instruction of type Text. | 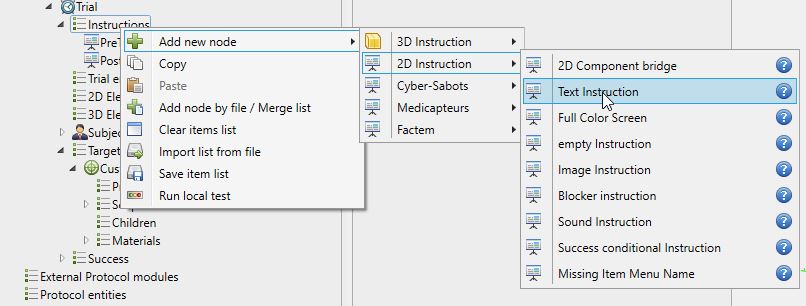 |
| Select the added instruction and configure the text instruction by entering the text "Target found" |  |
| Select the instruction named "PostTrial blackscreen" then right click to bring up the context menu and click the delete entity button. | 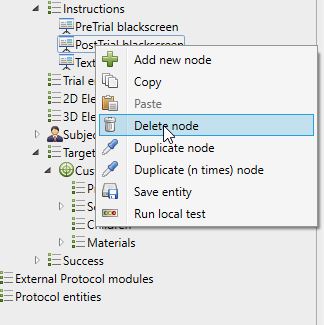 |
Protocol test
You can test the protocol to see the instruction change. When the user finds the target, the message appears and then the pass ends.
Duplication of the test
At the moment, the protocol is running an experiment that has only one trial. Let's duplicate the trial in question.
| Step | Representation |
|---|---|
| Select the trial and right-click to display the context menu. Use the duplicate command to create an exact copy of the trial | 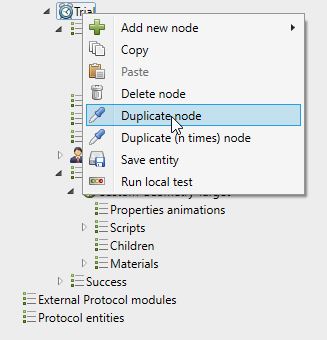 |
| The trial is now duplicated. |  |
| Expand the second trial and select the entity "Subject" | 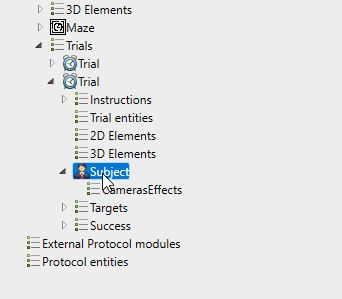 |
| Change the starting position of the subject for the second trial by indicating a Z position of -5 |  |
Change the second trial
The two trials are independent. It is obviously possible to modify it at will, even to duplicate the target to place a second one.
Test the protocol
You can test the protocol to see the modification of the trial list. At the end of the first trial, the second trial begins. The protocol stops at the end of the second trial.
Adding a Stopwatch
We can add a stopwatch displayed on the screen. We want the stopwatch to display the time since the beginning of the experiment.
| Step | Representation |
|---|---|
| The stopwatch is common data for all the trials in the experiment, so we can place it as a direct child of the experiment. Go to the experimentation and select the list of 2D elements | 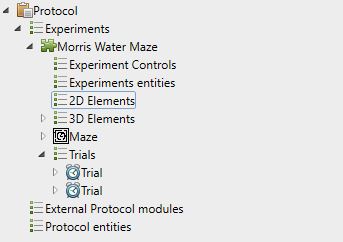 |
| Add a timer by going to the ScriptedText/Timer displayer entity | 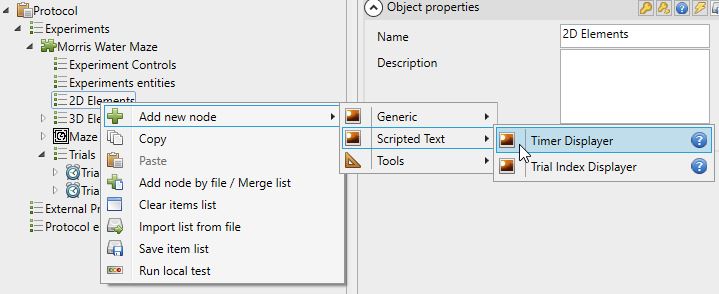 |
| Position the text in 0.45 in Y | 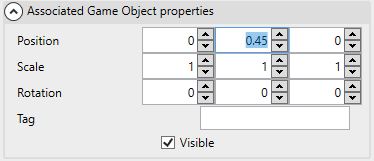 |
| We want to know the total time. Uncheck the option "Use trial time reference". | 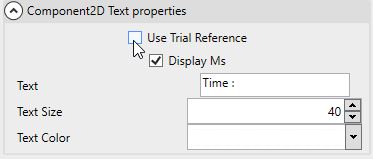 |
Screen coordinates
When working in 2D space, the coordinates are expressed as a percentage of screen. The origin point being at the center of the screen, the value intervals go from -0.5 to 0.5 in X and Y. The Z coordinate is not useful.
Protocol test
You can test the protocol to see the modification of the trial list. At the end of the first trial, the second trial starts. The protocol stops when the second trial is finished.
End of design
The first contact with the protocol design is over. You can manipulate the properties of the objects as you wish.